Your first behind the wheel practice is one of the most important moments in your driving journey. Getting prepared beforehand makes all the difference between a stressful experience and a confident one.
We at floridanewdriver.com have created this step-by-step guide to walk you through everything you need to know before you start driving.
Vehicle Familiarization and Pre-Drive Checks
Understand Your Dashboard Controls and Gauges
Before you turn the key, spend time sitting in the driver’s seat and learning where everything is. The dashboard holds information you need to monitor constantly while driving. Your speedometer tells you if you’re going too fast, the fuel gauge shows how much gas remains, and the temperature gauge alerts you to engine problems. Most modern vehicles also display tire pressure warnings and battery status lights.
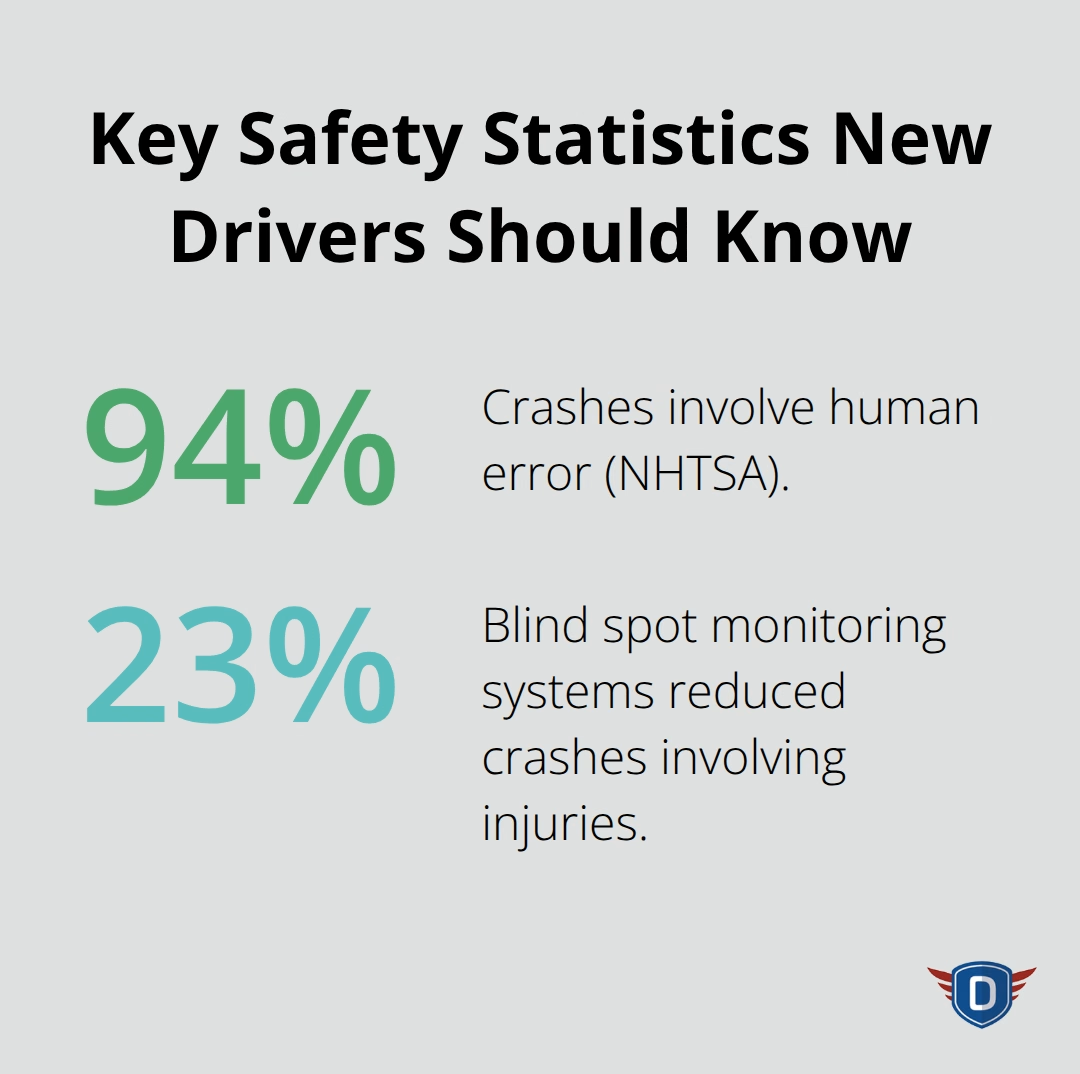
Familiarize yourself with where the windshield wipers, headlights, and turn signals are located so you can operate them without looking away from the road. According to the National Highway Traffic Safety Administration, roughly 94% of crashes involve human error, and many of those errors stem from drivers not knowing how to operate basic vehicle controls or failing to check critical information on their dashboard.
Adjust Your Seat, Mirrors, and Steering Wheel
Seat position matters more than most new drivers realize. Your seat should be close enough to the pedals that you can press the brake fully without stretching your leg straight. Your back should rest firmly against the seat, and your hands should reach the steering wheel comfortably without locking your elbows.
Mirror adjustment is non-negotiable for safety. Set your side mirrors so you can see slightly past the edge of your vehicle, eliminating blind spots where other cars can hide. The rearview mirror should show the full view behind you without requiring head movement. Recent research indicates that blind spot monitoring systems reduced crashes involving injuries by 23%.
Test all adjustments before starting the engine so you know exactly how to make changes if something feels off during your drive.
Perform Safety Inspections Before Starting
Perform a quick walk-around inspection every time you drive. Look at all four tires for obvious damage or low pressure. Check that all lights work by turning on the headlights, brake lights, and turn signals while walking around the vehicle.
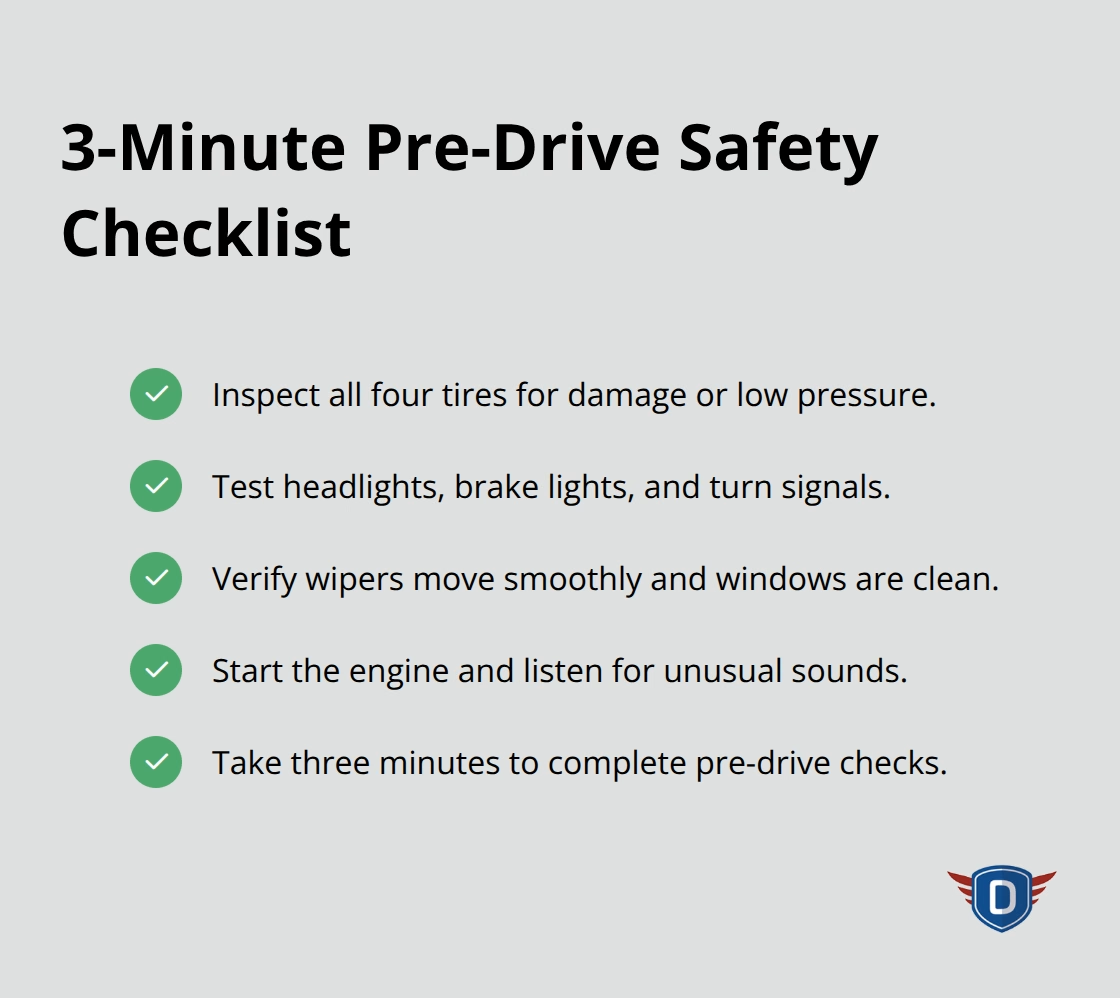
Verify that windshield wipers move smoothly and that your windows are clean. Start the engine and listen for unusual sounds before moving. These pre-drive checks take three minutes and prevent many preventable accidents caused by mechanical failure or reduced visibility.
With your vehicle properly set up and inspected, you’re ready to focus on the actual driving skills that will make your first experience behind the wheel smooth and controlled.
Essential Skills for Your First Drive
Starting and Stopping the Vehicle Smoothly
Insert your key or press the start button with your foot on the brake pedal, never on the accelerator. Once the engine runs, release the brake slowly and feel how the vehicle responds. Modern cars often creep forward slightly when you shift into Drive or Reverse, which is normal. Keep your foot firmly on the brake until you’re ready to move, then transition smoothly to the accelerator by easing off the brake while gently pressing the gas pedal.
This transition takes practice, but rushing it causes jerky movements that make passengers uncomfortable and signals inexperience to other drivers. Stopping demands the same smooth control. When you see a red light or stop sign ahead, begin braking 3 to 4 seconds before you need to stop. Pressing the brake pedal too hard causes your vehicle to lurch forward and wastes fuel.
Apply steady, moderate pressure and adjust as needed. Your goal is to come to a complete stop without passengers lurching forward in their seats. Practice this in empty parking lots until the motion feels natural.
Steering, Acceleration, and Braking Techniques
Steering requires both hands on the wheel at the 9 and 3 o’clock positions, not at the top. This hand position gives you better control during emergency maneuvers and reduces wrist strain during long drives. Turn the wheel smoothly, never jerk it, and avoid oversteering which wastes fuel and makes the vehicle unstable.
Acceleration should feel deliberate, not aggressive. Pressing the gas pedal too hard wastes fuel and makes your vehicle difficult to control. Instead, apply gentle pressure that matches road conditions and traffic flow. On a highway, you’ll need more acceleration than on a residential street.
Smooth acceleration and braking reduce fuel consumption, which saves money and demonstrates control to everyone sharing the road with you. Braking technique matters just as much as acceleration. Avoid slamming your brakes unless facing an emergency. Hard braking wastes fuel, increases wear on your brake pads, and surprises drivers behind you who may not have time to react.
When traffic slows ahead, release the accelerator first and let your vehicle slow naturally through engine resistance before applying the brakes. This technique, called coasting, improves fuel efficiency and shows other drivers your intentions early.
Understanding Traffic Signs and Road Markings
A solid white line between lanes means you cannot change lanes, while a dashed white line allows lane changes. Yellow lines separate opposing traffic directions: solid yellow on your side means no passing, while dashed yellow allows passing when safe. Stop signs require a complete stop, meaning your vehicle must come to rest for at least one second before proceeding.
Yield signs mean you must slow down and give the right of way to other vehicles or pedestrians before entering. Speed limit signs show the maximum legal speed under ideal conditions, but you must adjust your speed for rain, fog, or heavy traffic. Many new drivers drive at the posted speed limit regardless of conditions, which causes accidents.
If visibility drops or roads are wet, reduce your speed even if the sign says 55 mph. Understanding right-of-way rules prevents collisions at intersections. When two vehicles approach a four-way stop simultaneously, the vehicle on the right has the right of way. At a traffic light, you cannot turn left against oncoming traffic unless the light explicitly shows a green left-turn arrow.
Pedestrians in crosswalks always have the right of way, and you must stop for them even if they’re jaywalking. These rules exist because they prevent the specific collision patterns that cause injury and death on roads. With these core techniques mastered, you’re ready to build real confidence by choosing the right environments and gradually increasing the complexity of your driving situations.
Building Confidence Through Practical Driving
Start in Safe, Controlled Environments
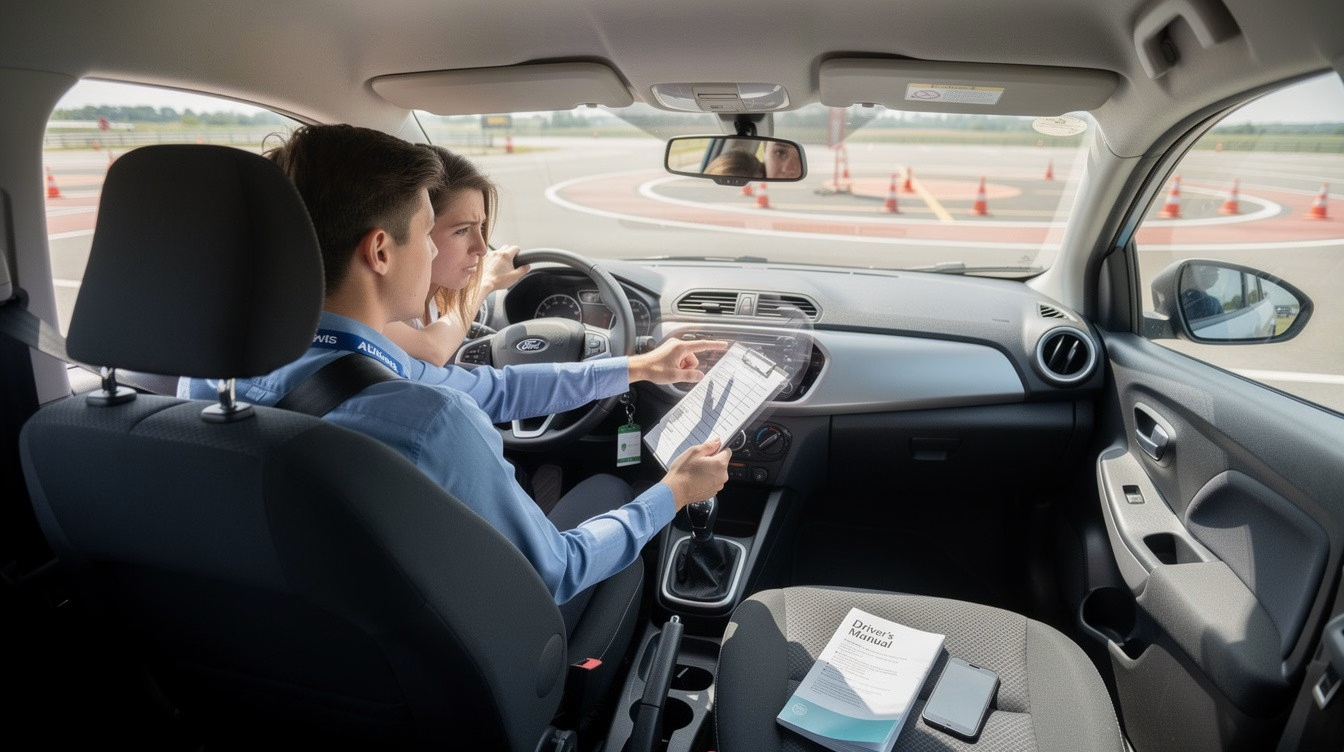
Start your first drives in empty parking lots during daylight hours when traffic is minimal and distractions are few. Empty parking lots let you practice steering, acceleration, and braking without the pressure of other vehicles or pedestrians. Spend at least two to three hours in parking lots before moving to quiet residential streets with minimal traffic.
Once you’re comfortable with basic vehicle control, move to residential streets with 25 mph speed limits and light traffic during off-peak hours like mid-morning on a Tuesday. This progression matters because research from the Insurance Institute for Highway Safety shows that newly licensed drivers aged 16 to 19 have crash rates three times higher than drivers aged 20 and older, largely because they lack experience in varied driving conditions. Your practice environment directly impacts how quickly you build real skills.
Manage Nervousness and Stay Focused
Nervousness is normal during your first drives, but it becomes dangerous when it prevents you from focusing on the road. Some nervousness actually helps because it keeps you alert and cautious, but excessive anxiety causes hesitation that confuses other drivers and creates unsafe situations.
If you feel overwhelmed during a drive, pull into a safe location and take five minutes to breathe and reset rather than continuing while distracted. This pause prevents panic from compromising your judgment and helps you return to the road with a clearer mind.
Progress Through Structured Practice Hours
Increase speed and traffic complexity only after you’ve mastered the previous level. Spend at least five to ten hours on residential streets before attempting busier roads with 35 to 45 mph speed limits. Only after thirty to fifty hours of varied practice should you attempt highway driving.
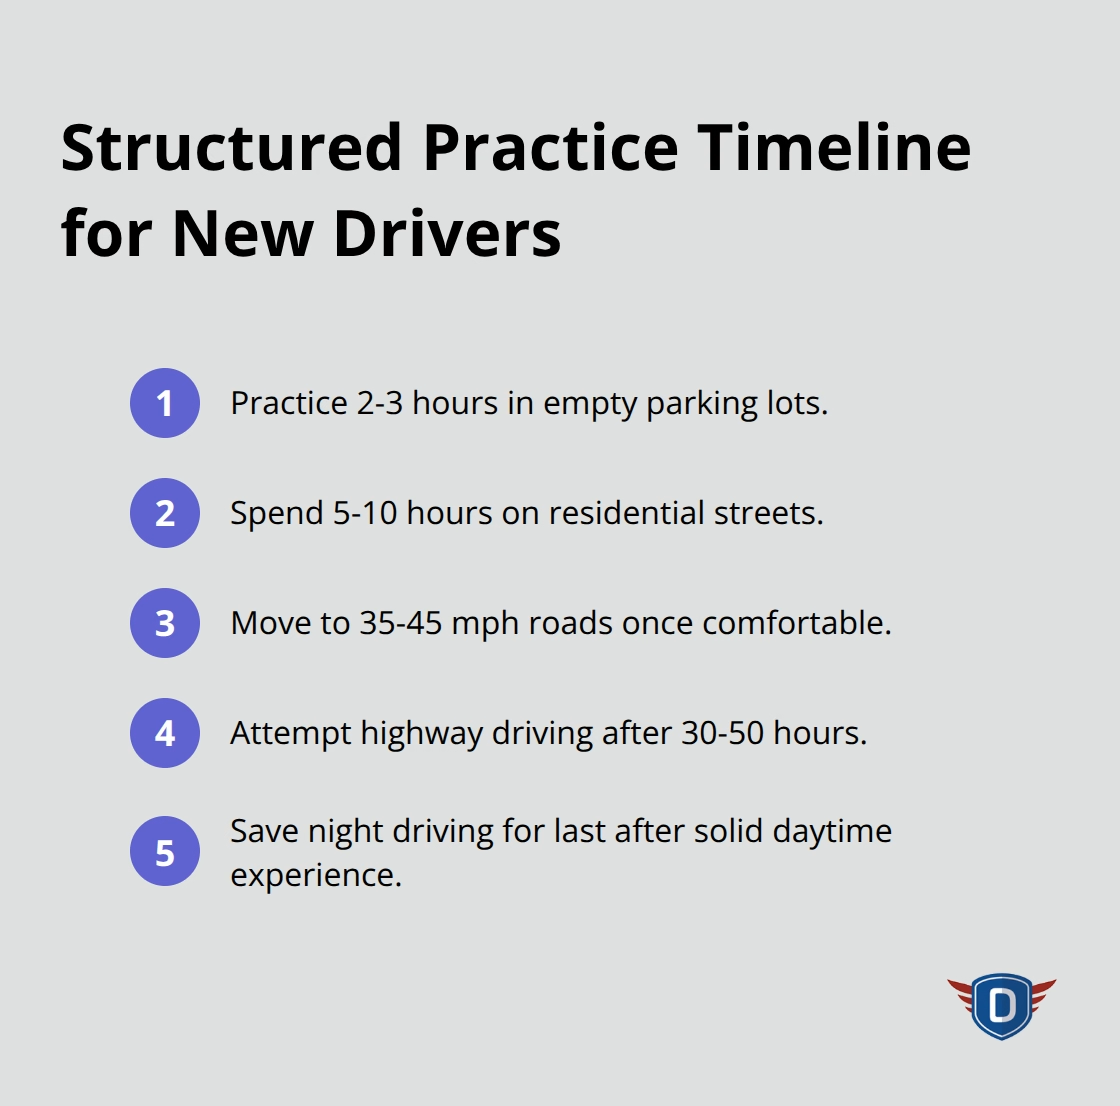
This timeline isn’t arbitrary-studies on skill development show that complex motor skills like driving require substantial repetition in progressively challenging environments before they become automatic. Track your practice hours and note which situations feel uncomfortable so you can target those areas in future sessions.
Tackle Night Driving Last
Night driving should come last, only after you’ve logged significant daytime hours, because reduced visibility adds a layer of complexity that compounds other challenges. Attempting highway driving or heavy traffic situations at night before you’ve mastered them in daylight sets you up for dangerous mistakes.
Wait until you feel genuinely confident in varied daytime conditions before you turn on your headlights and practice in darkness. This sequencing respects how your brain learns new skills and protects you from situations where multiple challenges hit at once.
Final Thoughts
Your first behind the wheel practice marks the start of a lifelong skill that demands respect and continuous improvement. The preparation you’ve completed-from understanding your dashboard to mastering smooth acceleration and braking-separates confident drivers from nervous ones. Vehicle familiarization isn’t optional busywork but the difference between controlling your car and being controlled by it.
The progression you follow matters enormously because your brain learns complex motor skills through structured repetition in progressively challenging environments. Starting in empty parking lots, moving to residential streets, and only later tackling highways and night driving respects how your mind actually absorbs new abilities. Skipping steps or rushing through situations you’re not ready for creates dangerous gaps that surface when conditions become harder.
Your next step is consistent practice in progressively challenging situations, and if you want structured guidance beyond your initial practice, floridanewdriver.com offers comprehensive driver education programs designed to build safe habits that last. Track your hours, note which scenarios make you uncomfortable, and target those areas deliberately in your next sessions.